10 Strategies for Smoother Transitions

Transitions can be tough for many students, especially those with Autism, who may struggle with unexpected changes or shifting from one activity to another. Whether it’s moving from recess to classroom time or switching from one task to the next, these moments can lead to frustration, anxiety, and behavioral challenges. However, the good news is that there are simple, effective strategies to help ease these transitions.
While this post is geared towards supporting students with autism spectrum disorder, these strategies are beneficial for all students, regardless of diagnosis. Every child can benefit from more structure, predictability, and reinforcement during transitions. By implementing these techniques, you can create smoother, more manageable transitions for your classroom or at home, leading to a more successful and calm learning environment. Let’s dive into 10 strategies that can make a big difference!
10 Transition Tips
1. Use a pause button
Introducing a physical pause button symbol, like a laminated card or sign, can be a powerful tool for transitions. The pause button signals to students that the current activity isn’t finished forever—it’s just a temporary stop before moving on to the next task. This can reduce anxiety by reassuring them that they may return to the activity later if needed.

OVERLOADED caseload? No idea how you are going to manage it all? This Summit is for you.

calling all SPED Teachers
OVERLOADED caseload? No idea how you are going to manage it all? This Summit is for you.

Since many kids are already familiar with the concept of pausing from watching videos or playing video games, this strategy will feel relatable and easy to understand. To make it even more effective, practice using the pause button during both calm times and more challenging transitions so that it becomes a natural part of their routine.
I like it print out a larger pause button and I will place it onto the work or activity that it being done. It is important that when you first introduce this it is not when it is actually time to pause and transition. It is important that the expectations are reviewed prior to it. But I will say that students have picked up on this very fast. If it is a toy or game, consider leaving the pause button on it and physically keeping it there until it is time to play again. This can really solidify the meaning of the pause button and show them that they will get to do it again!
2. Provide choices
Offering choices during transitions gives students a sense of control, which can ease their anxiety and resistance. For example, you might ask, “Would you like to walk or hop to the next activity?” “Would you like 2 or 3 more minutes on this worksheet?” or “Do you want to walk with me or your friends?”

By allowing them to make small decisions, you’re empowering them to take ownership of the transition and making it feel less overwhelming. It’s important, though, to keep these choices structured and manageable to avoid overwhelming them with too many options.
The choices should still be getting them closer to the desired outcome. For example, asking them if they want to walk like a penguin or elephant both get them walking in the direction you want them to go.
Choices should like an easy intervention, but many times they can lead to power struggles. In order to avoid a power struggle, read this blog post that outlines them even more.
3. Use a timer
Using visual timers are tools that works for all students, so it is a tool that can be used in every classroom- no matter the age! Timers can help students in high school with time management so they are not asked to transition right in the middle of a project. Timers such as countdown clocks or sand timers make the concept of time more concrete for younger students who may struggle with abstract time cues.
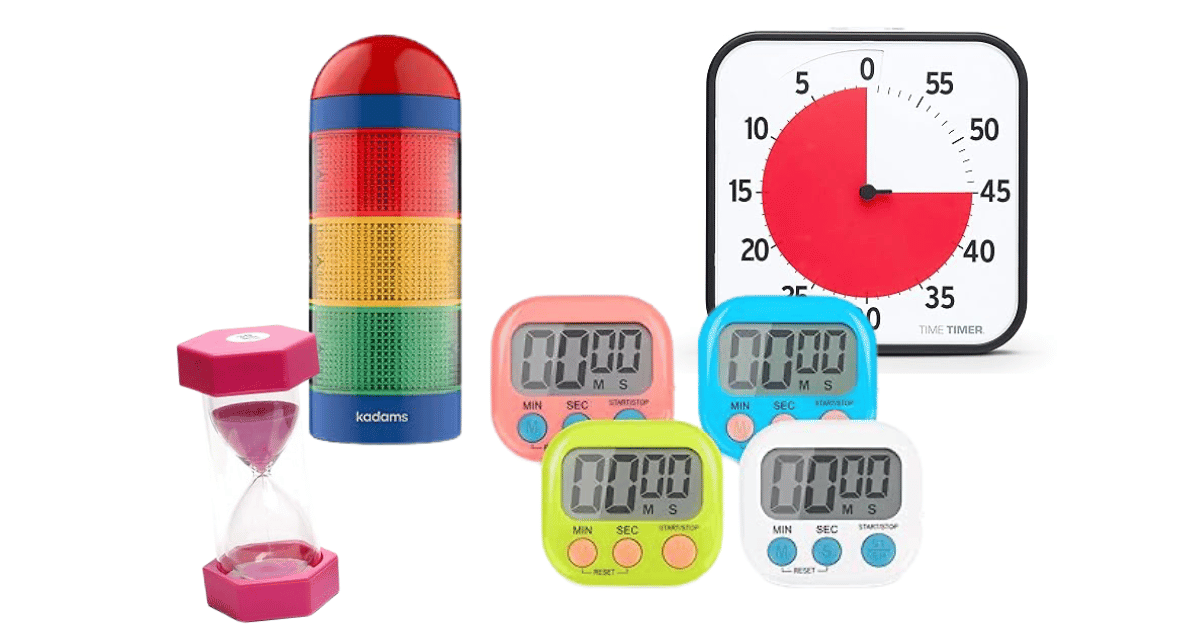
As the countdown timer winds down, students gain a clear sense of when the transition will happen, reducing the surprise or anxiety of switching tasks. Give gentle reminders as the timer approaches zero—like saying, “Two more minutes before we clean up”—so they know what to expect. Pairing the timer with positive reinforcement when students respond appropriately, such as, “You stopped right when the timer went off—great listening!” can further encourage smoother transitions.
Even using a timer to help students learn the skill of waiting. This is something that can be so hard for our students, because it is an abstract concept. AND it is even hard for adults! Usually adults are waiting and then on their phone or making small talk with people around them. In classrooms, students are often asked to wait before they transition. Using a timer or another type of visual supports like these can help students understand the concept of time and then make the transition easier. Click here to get learning to wait visual cues.
Here are a few of my favorite types of timers:
Teaching students the skill of learning to wait is a skill that is going to help them in their daily life, not just in school.
Many times autistic children will not be able to process the verbal cues you provide to them, so this visual cue can help with the transition process and make many daily routines easier.
4. Use first then board
A First-Then board is a straightforward visual tool that helps students anticipate what’s coming next. It is easy to implement and use and can be used with just a whiteboard! For instance, you might show the student, “first worksheet, then outside.” This clear format reassures students about what’s happening now and what to expect next, reducing the anxiety often associated with transitions. The beauty of the first-then board is its versatility; it can be used repeatedly throughout the day, not just during difficult transitions or when a student is showing signs of problem behavior. For example, you can use it when moving between subjects, from one classroom to another, or even during breaks.
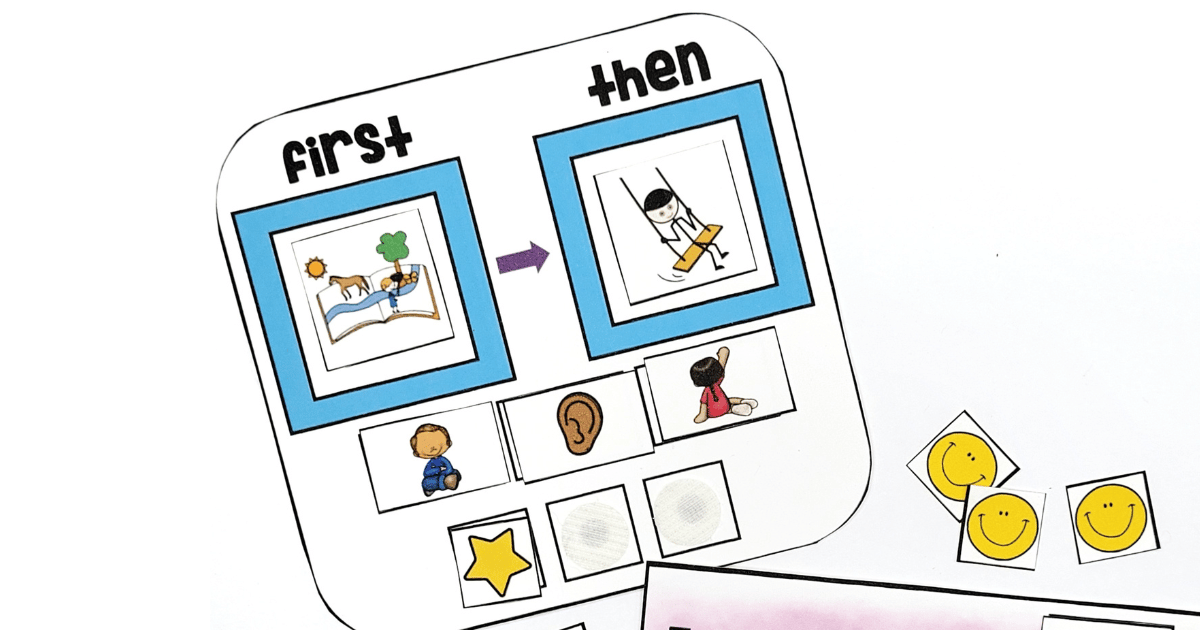
By incorporating the First-Then board as a regular part of the daily routine, students can start to rely on its structure and predictability, which builds comfort and confidence over time. Keep the board simple and easy to read, using pictures or text based on each student’s abilities. As students complete the “first” task, reinforce their accomplishment with positive reinforcement that is the “then” task. Consistent use throughout the day helps students feel more secure with transitions, making them less intimidating and more routine.
These can even be effective tools in helping students transition off of a preferred activity. You can use the first- then board to show that once they do their math, they can then return back to watching their video. First math, then video. This can make getting off the video to actually do math a tad easier.
It is important that all team members are using this language and using the if-then in the same way. The best way is to do the work then the reward, but this can be tweaked for specific needs. Some students just need to know what is coming so they may be okay with hearing first math then writing.
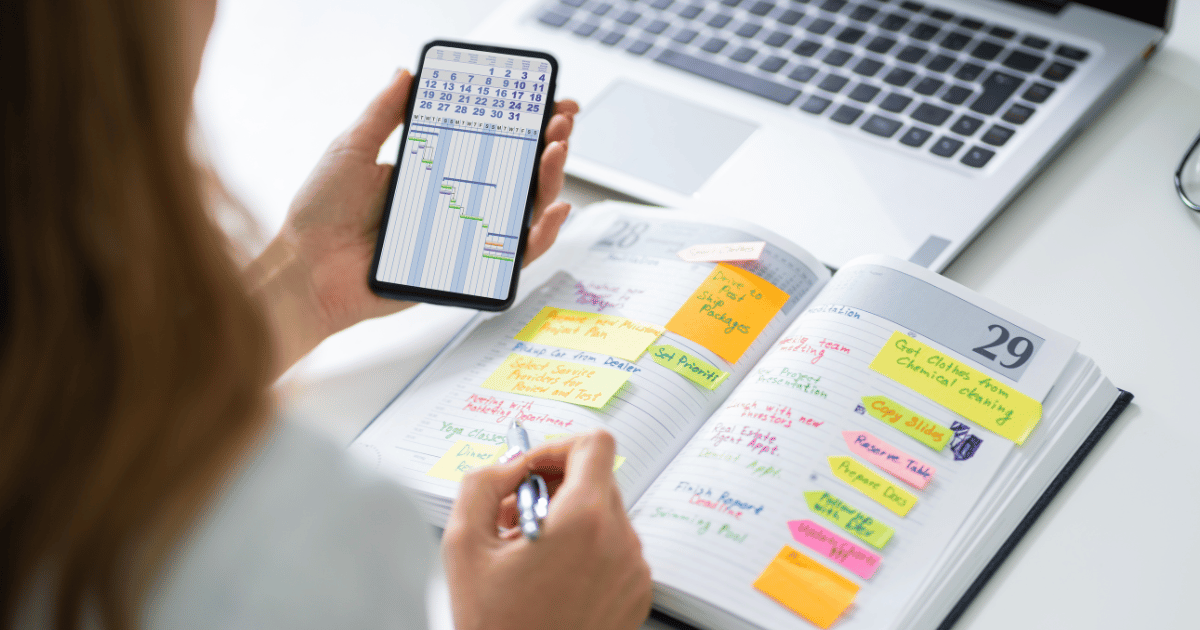
5. Use a visual schedule
Visual schedules are powerful tools for helping students navigate their day by showing them exactly what to expect. By laying out each activity in order, a visual schedule allows students to see what’s coming next, reducing the uncertainty that often causes resistance to transitions. The schedule can be customized to the student’s needs and preferences—some may benefit from picture icons, while others might prefer text. Be sure to give the schedule type that the student can access (or understand) even when they are upset. This means if a student is just learning to read, they need pictures and not just text.
Using a visual schedule consistently throughout the day helps students feel more secure as they can check off each activity as they go, giving them a sense of accomplishment and progress. It can help students prepare for an upcoming transition by seeing what follows it.
This structure is especially useful for students who rely on predictability; knowing what’s next can significantly ease transitions. If there is a change, having it on the students’ schedule can help with the change as opposed to just verbally telling them. The students learn they can rely on their schedule, and even if it is different day to day what is on it is what will happen for that day.
Regularly referring to the schedule helps reinforce its purpose, and over time, students may even begin using it independently. By establishing the schedule as a routine part of their day, you’re building a supportive framework that guides students smoothly from one activity to the next. Learn more about visual schedules over on this blog here.
6. Transition object
A transition object is like a little “bridge” that helps students move from one activity to the next. Think of it as a small, familiar item they can hold onto as they move through different parts of the day. For example, a favorite stuffed animal, a special fidget, or even a “transition buddy” like a tiny toy car can give students something comforting to focus on, especially during tougher transitions.
Kids often feel a little more at ease when they can bring something familiar along for the ride, kind of like adults might with that morning coffee or a trusty planner! Transition objects can make even the most dreaded switch—from preferred activities to a more structured one—a little easier because they provide a sense of security. As they hold their special item, they feel more prepared to face whatever’s next.
Keep it simple and consistent by using the same object for specific transitions or allowing them to pick from a small, familiar selection. Over time, they’ll start associating that object with smooth transitions and, hopefully, with fewer worries along the way!
Tips for transition objects:
- consider a location the object can be ‘stored’ once the student transitions
- explicitly teach the expectations around the object before giving it to them
- can even be tied with a schedule and just be a cue to go check their schedule
- the object could even be a visual cue card that says ‘switch’
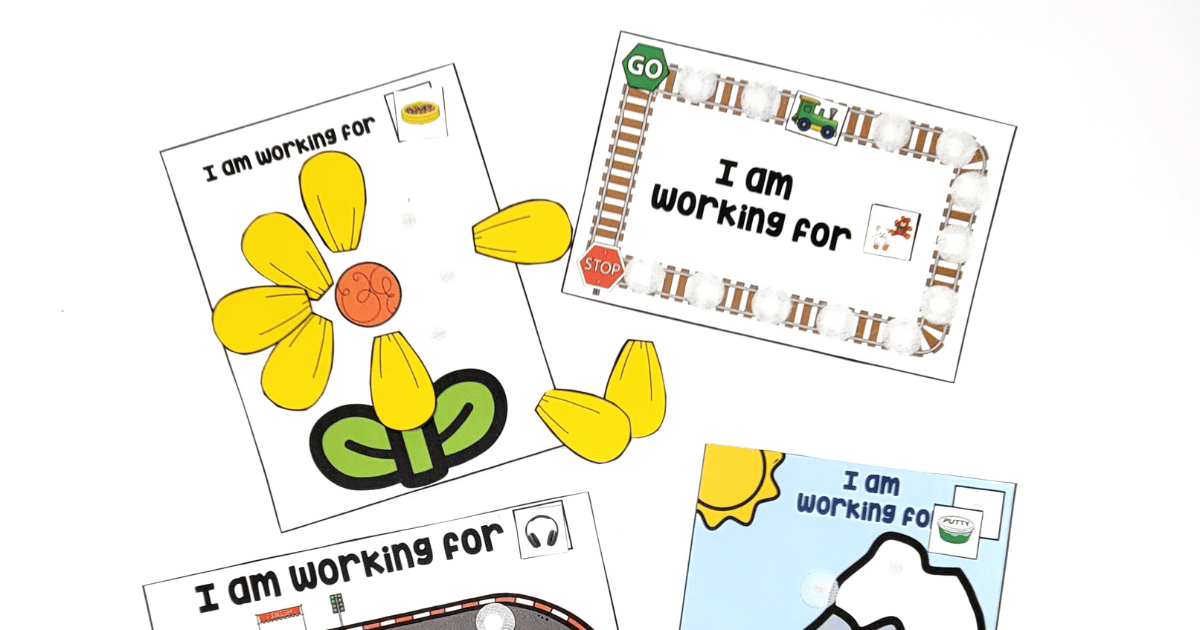
7. Pair with a reinforcement system
Once students do the transition- we need to reinforce that behavior for it to happen again in the future. Pairing transitions with a reinforcement system—like earning tokens, stickers, or points for completing tasks—can help make moving from one activity to the next more rewarding. Think of it as a way to celebrate those small wins, like getting through math time or wrapping up circle time without a hitch. It does not mean that every single transition they need to earn a prize, but rather using their reward system they already have in place.
If you have a student who is on something like a behavior point sheet, you can add in points for each major transition. Then for the transition times, they can earn an additional point. This will again motivate them to have successful transitions.
Or if you have a student on a token economy, they can earn a token for each transition that will be working towards their reward.
Here are some tips to implement a token economy that would be helpful with transitions!
8. Use wait time
Giving kids a little “wait time” during transitions can be an easy trick for a smooth transition. Instead of rushing them to wrap up what they’re doing, allow a few seconds (or minutes, if possible) to mentally shift gears. Imagine someone interrupting your favorite show without warning—no one loves an abrupt stop! For kids, a little wait time can help them adjust and get ready for what’s next without feeling like they’re being yanked away mid-task. You want to be sure you give them enough time to process, finish their task, and make the transition.

You can also use wait time in a different way- to avoid getting into a power struggle. Continue to prepare the student for the transition, but then when it is time to do the transition, tell them once. Then just wait.
Do not constantly remind them of the expectation. Many times students need wait time to just process the verbal information and will be ready to go in just a few short moments. Students may have a hard time processing the directive or with the attention shift and just need time to work through it. Although we was adults feel as though we need to constantly be moving through our school day with how much we have to get through, giving a couple of moments will actually give you more time back because you won’t be dealing with problem behaviors!
9. Use social narratives
Social narratives, or social stories, are like little stories that help students understand what’s going to happen and how they can handle it. These short, simple stories explain transitions step-by-step, helping kids picture what to expect and how to act. Imagine being told you’re going somewhere new without any details—that could be a bit nerve-wracking! Social narratives give kids the information they need so there are fewer surprises.
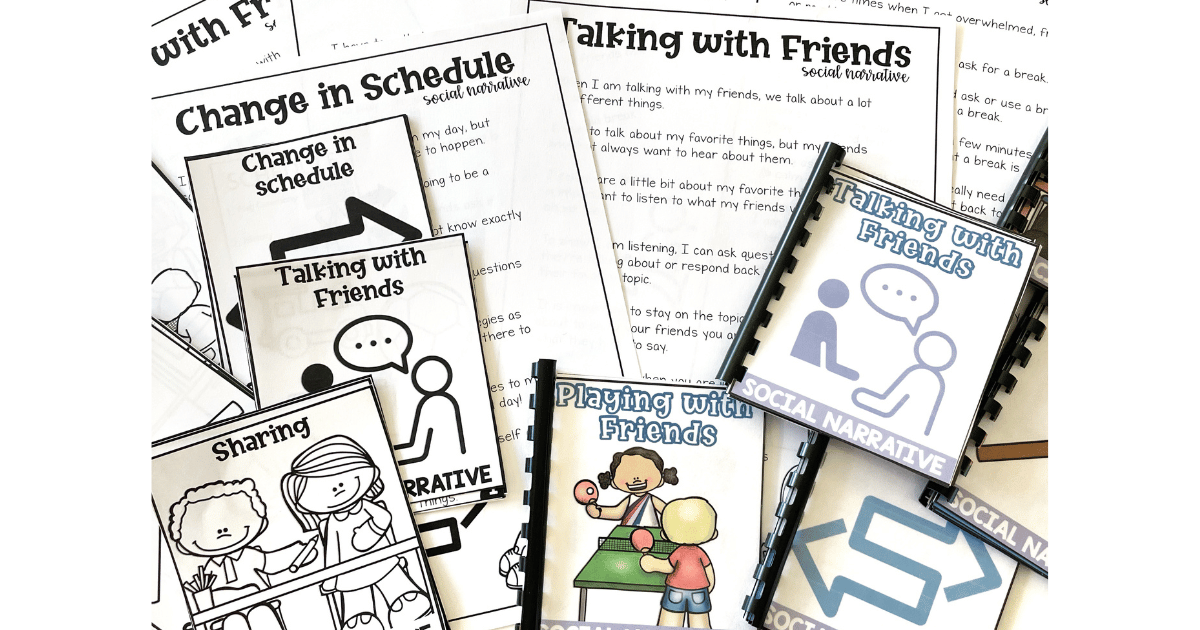
You can create a social story for almost any transition, like going from playtime to clean-up or moving from one class to another. If you need some social narratives to try out or see how the format is, you can grab 5 free ones here!
10. Use behavioral momentum
Behavioral momentum is all about building success before tackling bigger challenges. Starting with easier tasks can help students feel confident and ready to take on whatever comes next. By beginning with activities they can be successful at, it can build up the momentum so they are less likely to refuse the transition. These can be thought of as transition activities even.
You can learn all about this specific strategy in this blog post!
Transitions can cause challenging behaviors for some students, especially those with autism, but with a little creativity and planning, we can make these shifts smoother and more manageable. By implementing strategies like using a pause button, visual schedules and social narratives, we empower our students to embrace change rather than resist it. These are effective ways to be proactive about behaviors to intervene before they begin. Remember, the goal isn’t to make transitions happen overnight; it’s about building habits and routines that lead to lasting success. Your specific situation may not need all of these strategies, but it is good to have several in your back pocket for when you are trying to support a student through their transition.
As you explore these strategies, keep in mind that patience and reinforcement are key. Each small step forward is a victory worth celebrating! Whether your students are transitioning from one activity to another or adjusting to a new routine, the right tools and a supportive environment can make all the difference.